Water Creation SS-TS-3322A Installation Guide

Browse online or download Installation Guide for Unknown Water Creation SS-TS-3322A. Water Creation SS-TS-3322A Installation Guide User Manual

  • Download
  • Add to my manuals
  • Print
  • Page
    / 1
  • Table of contents
  • BOOKMARKS
  • Rated. / 5. Based on customer reviews
Page view 0
INSTALLATION INSTRUCTIONS
CARE AND MAINTENANCE
Adjustable Wrench
Channel Locks
Regular Screwdriver
Phillips Screwdriver
10'
Saber Saw Pipe Wrench
Level
Tubing Cutter
Square
Tape Measure
Electric Drill
1
2 3 4 5 6 7 8 9 10
11
1 2 3 4 5 6 7 8 9 10
11 12 13 14 15 16 17 18 19 20 21 22 23 24
Hacksaw
Sealant
RECOMMENDED TOOLS AND MATERIALS
Most of the procedures require the use of common tools and materials, which are available from hardware and plumbing, supply
stores. It is essential that the tools and materials be on hand before work is begun.
Topmount Kitchen Sink
1. If you are replacing an existing sink, remove the old sink and proceed to step 5. For installation in a new
countertop, go to step 2.
2. Place sink upside-down on countertop, positioning sink front to
back so that the bowls will not interfere with the cabinets below.
Use a pencil to trace around the outside of the sink, then remove
the sink from the countertop. See Figure 1.
3. Measure in 1/2” from the sink outline and draw a second line inside
of the second line. This inside line will be the cutout line.
See Figure 2.
4. Following your countertop manufacturer’s instructions for cutting,
cut out the opening for the sink along the line you drew in Step 3.
Take care not to remove too much material. Erase all remaining
pencil marks.
5.
back. If an adjustment needs to be made to the cutout, do so now.
Remove the sink from the countertop.
6. Install the faucet and drains according to the manufacturer’s
instructions. DO NOT OVERTIGHTEN any fasteners or drain
connections - this could damage the sink. (If faucet holes are not
yet drilled, refer to Faucet Hole Drilling Instructions.)
7. Apply a bead of silicone around the countertop cutout. See Figure 3.
Gently lower the sink into the countertop, and wipe away any excess
water supply to the faucet. Allow the silicone to cure according to
the manufacturer’s instructions. CAUTION! DO NOT OVERTIGHTEN!
to 3/4 turn.
Figure 1 . Trace edge of sink
with pencil
Figure 2 . Draw cutout line
1/2” in from sink
outline.
Figure 3 . Apply silicone caulk
around the opening.
Page view 0
1

Summary of Contents

Page 1 - Topmount Kitchen Sink

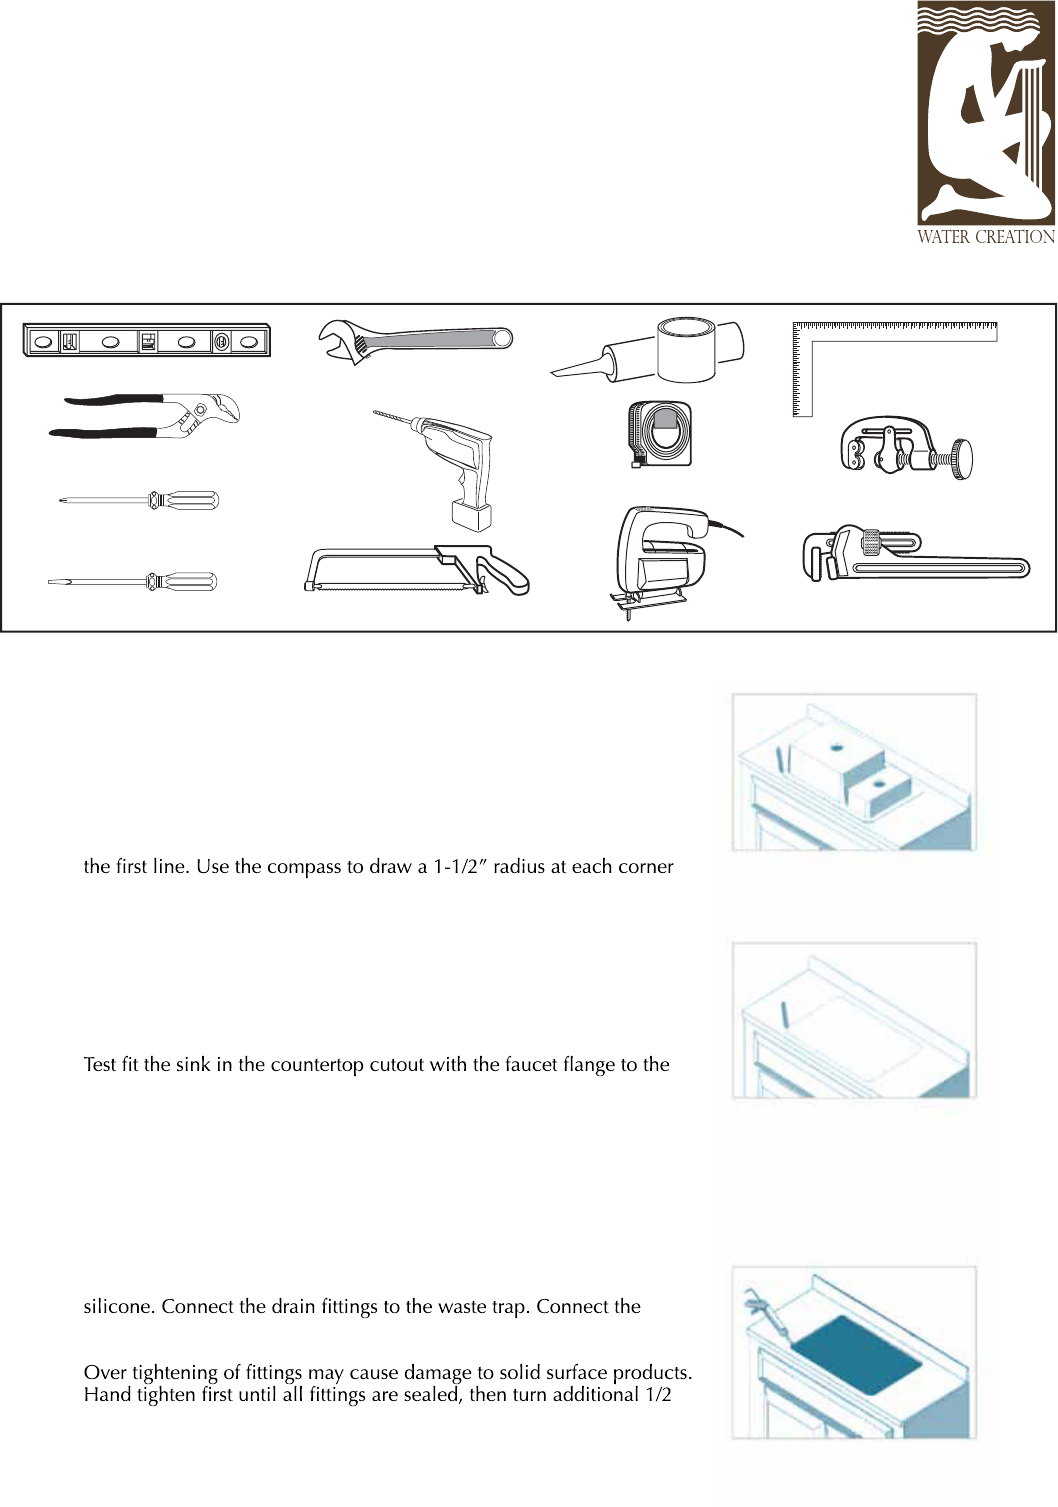
INSTALLATION INSTRUCTIONSCARE AND MAINTENANCEAdjustable WrenchChannel LocksRegular ScrewdriverPhillips Screwdriver10'Saber Saw Pipe WrenchLevelTu

Comments to this Manuals

No comments